“Transfer Your Designs with Ease-Dye Vinyl Sublimation Paper!” – SUBLIMATIONTRANSFERPAPER – A3+ Vinyl Sublimation Paper Factory, Industrial Sublimation Paper Wholesale, Made in China
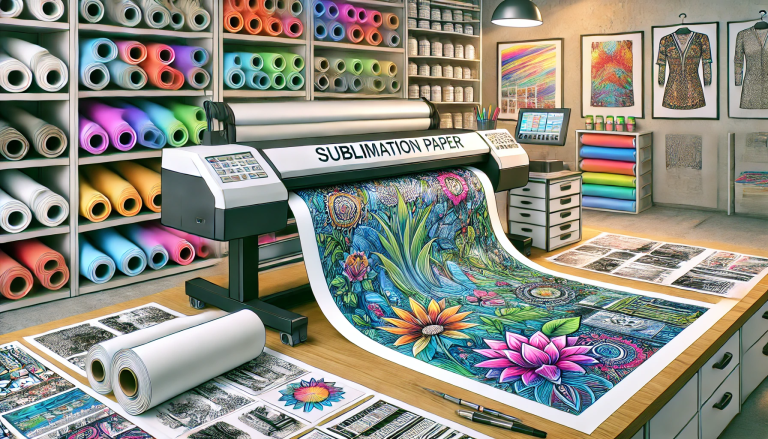
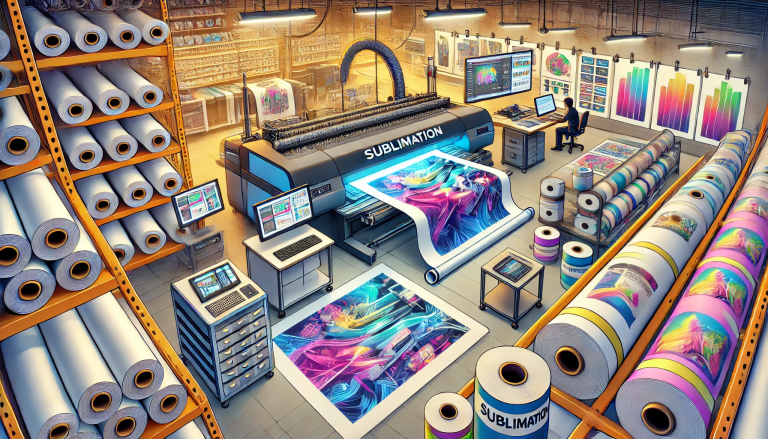
Dye vinyl sublimation paper is a specialized material widely used for creating vibrant, long-lasting prints on polyester-based fabrics, coated ceramics, and other sublimation-compatible substrates. Unlike traditional transfer methods, dye sublimation works by converting ink into gas under heat and pressure, allowing it to penetrate the substrate’s surface for a seamless, fade-resistant finish. If you’re wondering how to transfer dye vinyl sublimation paper effectively, this comprehensive guide breaks down the process into simple, actionable steps, along with key tips for achieving professional results.
1. Understand the Basics: What You Need Before Starting
Before beginning the transfer process, it’s essential to gather the right tools and materials, as well as ensure your substrate is compatible. Here’s what you’ll need:
- Dye Vinyl Sublimation Paper: Choose high-quality paper designed for sublimation, as it absorbs and releases dye ink effectively. Opt for the correct size based on your design and substrate.
- Sublimation Ink: Use ink specifically formulated for dye sublimation (water-based dye ink), as regular ink won’t bond with the substrate properly.
- Sublimation-Compatible Substrate: The substrate must be polyester or have a polyester coating (e.g., polyester t-shirts, sublimation mugs, coated aluminum panels). Natural fibers like cotton are not compatible unless pre-coated.
- Heat Press: A commercial or hobby-grade heat press is required to apply consistent heat and pressure. For flat substrates, use a flat heat press; for curved items (mugs, tumblers), use a mug/tumbler press.
- Additional Tools: Lint roller, heat-resistant tape, scissors or cutting machine, and graphic design software (for creating/editing designs).
2. Step 1: Prepare Your Design and Print on Sublimation Paper
Start by creating or editing your design using graphic design software (e.g., Adobe Photoshop, Canva). Keep in mind that sublimation prints will appear slightly lighter on the paper than the final result, so adjust colors accordingly. Flip your design horizontally (mirror image) before printing—this ensures the final transferred design is oriented correctly.
Load the dye vinyl sublimation paper into your sublimation printer, following the manufacturer’s instructions (typically print side up). Select the appropriate print settings (e.g., “sublimation paper” mode, high resolution) to ensure sharp, vibrant prints. Allow the printed paper to dry completely (5–10 minutes) to prevent smudging during the transfer process.
3. Step 2: Prepare the Substrate
Proper substrate preparation is crucial for strong ink adhesion. Use a lint roller to remove any dust, lint, or debris from the substrate’s surface—even small particles can affect the transfer quality. For fabrics, pre-press the substrate for 5–10 seconds at 180°C (356°F) to remove moisture and wrinkles, which can cause uneven prints. Ensure the substrate is completely dry and smooth before proceeding.
4. Step 3: Position the Sublimation Paper on the Substrate
Cut the printed dye vinyl sublimation paper to fit the substrate, leaving a small border if needed. Place the printed side of the paper directly onto the substrate, aligning it correctly with your desired position. Use heat-resistant tape to secure the paper to the substrate—this prevents shifting during the heat press process, which can result in blurry prints. Make sure the tape does not cover any part of the design, as it will block the ink transfer.
5. Step 4: Apply Heat and Pressure with a Heat Press
Set your heat press to the correct temperature and time based on the substrate type. Typical settings are:
- Polyester fabrics: 180–190°C (356–374°F) for 30–60 seconds, medium pressure.
- Sublimation mugs/tumblers: 180–200°C (356–392°F) for 60–90 seconds, high pressure.
- Coated hard substrates (aluminum, ceramic): 190–200°C (374–392°F) for 45–60 seconds, high pressure.
Place the substrate with the secured sublimation paper into the heat press, ensuring even contact. Close the press and apply the recommended pressure and time. Avoid opening the press during the process, as this can disrupt the ink sublimation.
6. Step 5: Cool and Peel the Sublimation Paper
Once the transfer time is up, carefully open the heat press and remove the substrate. Allow the substrate to cool completely (1–2 minutes for fabrics, 5–10 minutes for hard substrates) before peeling off the dye vinyl sublimation paper. Peel the paper slowly and at a 45-degree angle—if the design is still damp or sticky, wait a few more minutes to cool before peeling to avoid smearing.
7. Key Tips for Perfect Dye Vinyl Sublimation Transfers
- Check Compatibility: Always confirm your substrate is sublimation-compatible; non-compatible materials will result in poor transfer or no transfer at all.
- Maintain Consistent Heat and Pressure: Uneven heat or pressure can cause faded areas or blurry prints. Calibrate your heat press regularly to ensure accuracy.
- Avoid Moisture: Both the sublimation paper and substrate must be dry. Moisture can lead to steam pockets, which ruin the print quality.
- Store Supplies Properly: Keep dye vinyl sublimation paper and ink in a cool, dry place away from direct sunlight to prevent degradation.
Conclusion: Mastering Dye Vinyl Sublimation Transfer
Transferring dye vinyl sublimation paper is a straightforward process when you follow the right steps and use compatible materials. By preparing your design and substrate correctly, applying the proper heat and pressure, and allowing adequate cooling time, you can create vibrant, durable prints that stand the test of time. Whether you’re a hobbyist creating custom apparel or a small business producing branded merchandise, mastering this transfer method unlocks endless creative possibilities with dye vinyl sublimation paper.