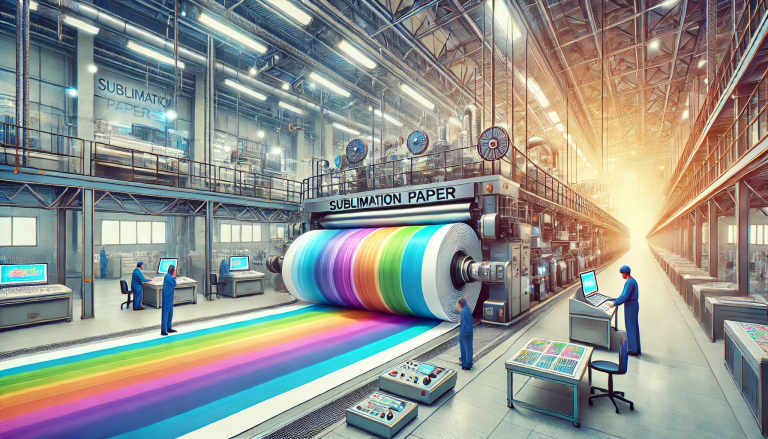
“Print with Ease – Get Professional Results with Quick Dry Vinyl Sublimation Paper!” – SUBLIMATIONTRANSFERPAPER – Fast Dry Sublimation Transfer Paper Wholesale, A3 Inkjet Sublimation Paper Manufacturer, Made in China
Quick dry vinyl sublimation paper has revolutionized the digital printing industry, especially for custom apparel, home decor, and promotional products. Its unique quick-drying property not only boosts work efficiency but also ensures crisp, vibrant, and long-lasting prints. Whether you’re a professional printer or a DIY enthusiast, mastering the use of this specialized paper is key to achieving flawless results. This comprehensive guide will walk you through the entire process, from preparation to post-printing, with practical tips to avoid common pitfalls.
1. Understand the Basics: What Is Quick Dry Vinyl Sublimation Paper?
Before diving into the operation, it’s essential to grasp what makes quick dry vinyl sublimation paper distinct. Unlike traditional sublimation paper, it is engineered with a advanced coating that accelerates ink absorption and evaporation. This means after printing, the paper dries in seconds rather than minutes, reducing the risk of smudges, ink bleeding, and paper jams. It works with sublimation inks, which turn into gas when heated, penetrating the surface of polyester-based vinyl or fabrics and bonding permanently—resulting in prints that are resistant to fading, washing, and scratching. Note that it is primarily designed for polyester or polyester-blended materials; using it on non-polyester surfaces may lead to poor adhesion and dull colors.
2. Gather Essential Supplies
Having the right tools and materials on hand is crucial for a smooth process. Here’s a checklist of what you’ll need:
- Quick Dry Vinyl Sublimation Paper: Choose a high-quality product that matches your printer type (inkjet or laser—most sublimation papers are for inkjet). Check the paper weight (typically 100-120 gsm) based on your project needs.
- Sublimation Printer: Ensure it’s compatible with sublimation inks. Regular inkjet printers can be modified, but dedicated sublimation printers offer better precision.
- Sublimation Inks: Use high-quality, color-matched inks to ensure vivid results. Low-grade inks may cause fading or uneven printing.
- Substrate: Polyester vinyl, polyester fabrics (e.g., T-shirts, hoodies), or coated hard surfaces (e.g., mugs, phone cases) designed for sublimation.
- Heat Press Machine: A flat heat press is ideal for fabrics and flat vinyl; use a mug press or plate press for curved items.
- Other Tools: Lint roller, scissors or cutting machine (e.g., Cricut), heat-resistant tape, and a clean, dry cloth.
3. Step-by-Step Operation Guide
3.1 Prepare the Design and Printer
First, create or select your design using graphic design software (e.g., Adobe Photoshop, CorelDRAW, or Canva). Keep in mind that sublimation prints are mirror images—so flip your design horizontally before printing to ensure the final result is correct. Adjust the design size to match your substrate, and set the resolution to at least 300 DPI for sharpness.
Next, prepare your printer. Install sublimation inks if you haven’t already, and load the quick dry vinyl sublimation paper into the paper tray. Ensure the paper is loaded print side up—check the paper packaging for guidance on which side is the print side (usually the brighter or coated side). Adjust the printer settings: select “sublimation paper” as the paper type, set the print quality to “high” (for better color saturation), and choose the appropriate color profile (e.g., sRGB or CMYK) based on your ink and paper.
3.2 Print and Dry
Send the design to print. Thanks to the quick-drying property of the paper, the print will be dry to the touch within 5-10 seconds after exiting the printer. Avoid touching the printed area immediately to prevent smudges. Once printed, let the paper sit for an additional 30 seconds to ensure complete drying, especially if the design has large solid color areas with heavy ink coverage.
3.3 Prepare the Substrate
The substrate’s condition directly affects the print quality. For fabrics or vinyl: use a lint roller to remove any dust, lint, or debris—these can cause white spots on the final print. If the substrate is new, pre-wash it (without fabric softener) and dry it completely to remove any sizing or chemicals. For hard surfaces (e.g., mugs), wipe them with a clean, dry cloth to remove fingerprints or oil.
If you’re working with vinyl, cut the printed sublimation paper to match the size of the vinyl using scissors or a cutting machine. For custom shapes, use the cutting machine to outline the design for precise results.
3.4 Heat Press Transfer
Preheat your heat press machine to the recommended temperature and time based on your substrate and paper. General guidelines are:
- Polyester fabrics/vinyl: 350-380°F (175-190°C) for 20-30 seconds.
- Coated mugs: 380-400°F (190-205°C) for 120-180 seconds.
- Coated plates: 375-390°F (190-200°C) for 60-90 seconds.
Place the substrate on the heat press. Position the printed sublimation paper ink side down onto the substrate, ensuring it aligns correctly. Secure the paper with heat-resistant tape to prevent shifting during pressing—this is critical for avoiding blurry prints. Close the heat press firmly, applying even pressure (follow the machine’s pressure guidelines; too little pressure causes incomplete transfer, too much may damage the substrate).
Once the timer ends, open the heat press and peel the paper immediately (this is called “hot peeling”). Quick dry sublimation paper is designed for hot peeling, which helps lock in the color and prevent ghosting. If you’re working with a delicate substrate, you can let it cool for 5-10 seconds before peeling, but avoid cooling it completely.
3.5 Post-Processing and Care
After peeling the paper, let the substrate cool completely before handling. For fabrics, wait at least 24 hours before washing. When washing, use cold water, mild detergent, and avoid bleach or fabric softener. Tumble dry on low heat or hang to dry to preserve the print.
For hard surfaces, avoid scrubbing the printed area with abrasive materials. Clean with a soft cloth and mild soap if needed.
4. Common Mistakes to Avoid
- Printing on the Wrong Side of the Paper: This leads to no transfer or faint colors. Always check the paper’s print side (usually marked or with a glossy coating).
- Not Mirroring the Design: The final print will be reversed if you skip this step, especially noticeable for text or logos.
- Incorrect Heat Press Settings: Too low temperature/time causes incomplete transfer; too high may burn the substrate or fade the color. Follow the paper and substrate manufacturer’s guidelines.
- Poor Substrate Preparation: Lint, dust, or moisture on the substrate creates white spots or uneven prints. Always clean and dry the substrate thoroughly.
- Peeling the Paper Too Late: Waiting for the substrate to cool causes the ink to reabsorb into the paper, resulting in dull or blurry prints. Stick to hot peeling for quick dry paper.
5. Conclusion
Using quick dry vinyl sublimation paper is a straightforward process when you follow the right steps, and its quick-drying feature makes it a game-changer for high-efficiency printing. By preparing your design and tools properly, mastering the heat press settings, and avoiding common mistakes, you can create vibrant, durable prints for a wide range of projects. Whether you’re making custom T-shirts for a event, personalized mugs as gifts, or branded vinyl decals, this guide will help you achieve professional-quality results every time. With practice, you’ll soon unlock the full potential of quick dry vinyl sublimation paper and take your printing projects to the next level.

